Hey guys! Hope everyone is doing great!
A couple of weeks ago, I posted this on Instagram.
Always a working lunch...
Many comments were made about how they loved this and wanted to know how I create it. So I thought I'd share!
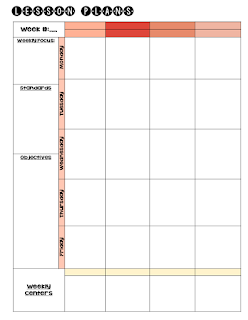
I start with a blank template. I created my lesson planner using (of course!) PowerPoint.
I just inserted a table and made the boxes fit my needs. I added my name and the date. Then I created Month at a Glance pages, months, and then duplicated enough pages to stretch my entire year. The file came to 101 pages, 2 page spread per week.
I also included some blank pages in the back for faculty meeting notes and next year ideas.
And then I printed out the entire file, two sided. Ran it through my binding machine, and bound it for the year.
Speaking of binding machines, mine is awesome! I got it at Office Depot. It's a Swingline Pro Click.
You can buy the spines and precut paper, too, if you don't want to invest in the machine.
This little machine is perfect for how I use it. I've bound a lot of things!
So after I've printed and bound my planner for the year, I'm ready!
I take the blank planner book with me to grade level meetings with my team for planning. I write plans in pencil.
Not pretty, I know.
Then later on I type up my written plans in the blank template I made in PowerPoint. It really doesn't take long and I suppose I could just keep the penciled plans and use them, but it's not pretty!! And there are no pictures!
Print them out and all that's left is to glue them on top of the penciled plans for prettiness.
And that's it. Easy peasy.
Now you have a chance to win this for yourself! A bound, personalized hard copy and the digital template!
Enter the rafflecopter here:
Winner will be chosen March 11.
Don't want to wait?
You can buy the file here, complete with instructions and pictures on how to make it your own. It's on sale this week for half off!
Thanks for reading!


Comments
Post a Comment